20+ Pro Tips for Real estate Photos That Sell Properties Faster (2025)
In the competitive real estate market, your listing's first impression is almost always its photos. Potential buyers spend mere seconds scrolling through dozens of properties, and captivating images are what make them stop and click. Mastering a few key tips for real estate photos can be the difference between a property that languishes on the market and one that sparks a bidding war. High-quality photography doesn't just showcase a space; it sells a lifestyle, highlights value, and builds the initial trust needed to get buyers through the door.
This guide provides a comprehensive look at the best practices for real estate photos, covering everything from essential gear and camera settings to advanced staging and editing techniques. Whether you're a seasoned agent looking to refine your skills or a new photographer learning how to photograph real estate, these strategies will help you produce images that command attention and drive sales.
In This Guide
- The critical role of high-quality photos in modern real estate marketing.
- Essential equipment and camera settings to capture professional-grade images.
- Staging and lighting techniques to make any property look its best.
- Compositional rules and editing tricks to enhance your final photos.
- How to build a complete professional brand, from property photos to your personal headshot.
Why High-Quality Photos are Non-Negotiable in Real Estate
Before diving into the technical aspects, it's crucial to understand why great photography is the cornerstone of successful real estate marketing. In an era dominated by online portals like Zillow and Realtor.com, your photos are your 24/7 open house. They are the single most important factor in determining whether a buyer will take the next step and schedule a viewing.
First, professional photos create a powerful perception of value. A home shot with care, proper lighting, and thoughtful composition appears more valuable and well-maintained than one with dark, blurry, or cluttered images. This initial perception can directly influence the offers you receive. Listings with professional photography have been shown to sell for more money and spend less time on the market. It's not just about making the house look good; it's about communicating its worth effectively.
Second, exceptional images drive emotional engagement. Buyers aren't just looking for a structure; they're searching for a home. Your photos need to tell a story and help them envision their life in that space. Bright, airy photos of a living room can evoke feelings of comfort and relaxation, while a well-lit kitchen can inspire thoughts of family dinners and entertaining guests. This emotional connection is what transforms a casual browser into a motivated buyer.
The Essential Toolkit: Gear You Actually Need
While a skilled photographer can take decent photos with any camera, having the right equipment makes the job significantly easier and the results more consistent. Here’s a breakdown of the essential gear for anyone serious about real estate photography.
Camera Body
A DSLR or mirrorless camera with a full-frame sensor is the industry standard. Full-frame sensors capture more light and detail, which is especially important for interior shots. They also offer a wider dynamic range, meaning they can better handle scenes with bright windows and dark corners. While crop-sensor cameras can work, a full-frame model from brands like Sony, Canon, or Nikon will provide a noticeable step up in quality.
Wide-Angle Lens
This is arguably the most critical piece of gear. A wide-angle lens, typically in the 16-35mm range for a full-frame camera, is necessary to capture the entirety of a room without making it feel distorted or unnaturally stretched. It allows you to showcase the layout and size of a space, which is impossible with a standard lens. Avoid fisheye lenses, as their extreme distortion looks unprofessional.
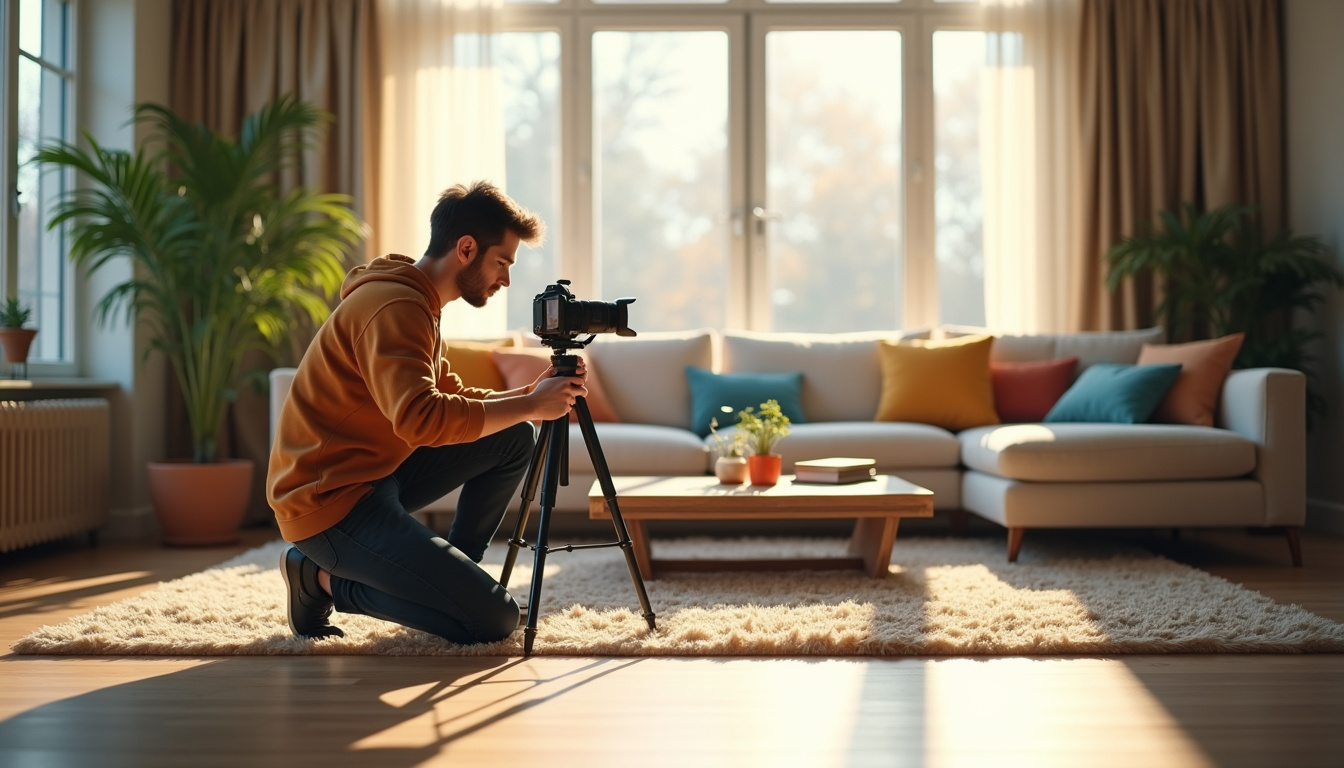
A Sturdy Tripod
A tripod is non-negotiable for real estate photography. It serves two primary purposes. First, it ensures your camera is perfectly still, allowing you to use slower shutter speeds in low-light interiors without introducing camera shake or blur. Second, it helps you maintain perfectly straight vertical lines, which is a hallmark of professional architectural photography. A tripod with a built-in level is a huge plus.
External Flash (Optional but Recommended)
While natural light is king, sometimes you need an extra boost to fill in dark shadows or balance the light from a bright window. An off-camera flash, or speedlight, that you can bounce off ceilings or walls creates a soft, natural-looking fill light. This is far superior to the harsh, direct light from a camera's pop-up flash.
Mastering Your Camera: Best Settings for Real Estate Photography
Having great gear is only half the battle. Knowing the right camera settings is what truly elevates your photos. Here are the core settings to use for crisp, well-exposed real estate images.
- Shooting Mode: Aperture Priority (A or Av): This mode allows you to set the aperture while the camera automatically calculates the correct shutter speed. It gives you creative control over the most important setting: depth of field.
- Aperture: f/8 to f/11: For real estate interiors, you want everything in the room to be in sharp focus, from the foreground to the background. A mid-range aperture like f/8 or f/11 provides a deep depth of field, ensuring maximum clarity throughout the space.
- ISO: 100-400: Keep your ISO as low as possible to minimize digital noise or grain in your photos. Since you'll be using a tripod, you can compensate for low light with a slower shutter speed instead of a higher ISO. Only increase the ISO if absolutely necessary.
- Shutter Speed: In Aperture Priority mode, the camera will set this for you. Because you're on a tripod, it doesn't matter if it's 1/60th of a second or a full 2 seconds. Let the camera do the work to achieve a perfect exposure.
- Focus Mode: Single-Point AF: Use a single autofocus point and place it about one-third of the way into the room. This helps ensure the entire scene falls within the plane of focus.
- File Format: RAW: Always shoot in RAW format instead of JPEG. RAW files capture all the uncompressed data from the camera's sensor, giving you maximum flexibility during the editing process to adjust exposure, white balance, and colors without losing quality.
Setting the Stage: Pre-Shoot Staging and Preparation
No amount of photography skill can fix a cluttered or dirty room. Proper staging is one of the most impactful tips for real estate photos. The goal is to create a clean, inviting, and neutral space that allows potential buyers to project their own lives onto it.
The Three D's: Declutter, Depersonalize, and Deep Clean
Before you even think about taking a photo, the property needs to be prepared. This is a crucial step in any guide on how to photograph real estate.
- Declutter: This is the most important step. Remove everything that isn't essential. Clear off kitchen and bathroom counters, remove magnets from the refrigerator, hide trash cans, and tidy up bookshelves. The less clutter, the larger and more appealing the space will feel.
- Depersonalize: Buyers need to imagine the house as their own, which is difficult if it's filled with the current owner's family photos, personal collections, and distinct decor. Remove personal items to create a more neutral canvas.
- Deep Clean: Every surface should be spotless. Clean windows, dust furniture, vacuum carpets, and mop floors. A clean home signals to buyers that the property has been well-maintained.
Adding Lifestyle Touches
Once the space is clean and decluttered, you can add small, strategic touches to make it feel more like a home. A bowl of fresh fruit on the kitchen island, a few neatly folded towels in the bathroom, a vase of flowers on the dining table, or a couple of books on a nightstand can add a touch of warmth and color. The key is to keep it simple and elegant.
Beyond the Property: Polishing Your Professional Image
While stunning property photos are crucial for marketing the house, the realtor's own professional image is just as vital for marketing themselves. Think about it: a potential client sees your incredible listing photos, gets excited, and then scrolls down to see a cropped, low-quality selfie of the agent. This creates a jarring disconnect and can undermine the professionalism you've worked so hard to build with your listing presentation. Your headshot is often the first 'photo' a client sees of you, and it needs to instill trust and confidence.
Traditionally, getting a studio-quality headshot was a hassle. It meant finding a photographer, scheduling a session, and paying hundreds of dollars, which was a barrier for many busy real estate professionals. This is where modern solutions can make a huge difference. For example, a service like Realtorheadshot.com is designed specifically for this challenge. It offers a fast and affordable solution for realtors to obtain high-quality studio headshots using AI technology. Instead of a traditional photoshoot, you can simply upload a few selfies and receive 100 different professional headshots in about 5 minutes, all for a flat fee of $29.
This service provides realtors with quick and cost-effective access to professional headshots, enhancing their marketing efforts. It ensures your personal brand—on your website, social media, and listing portals—matches the high quality of your property photos. A consistent, polished visual identity, from the home's curb appeal to your own professional image, is what sets top-tier agents apart in a crowded market.
Let There Be Light: Harnessing Natural and Artificial Lighting
Lighting is everything in photography. It sets the mood, defines the space, and can make a room feel either bright and welcoming or dark and cramped. Mastering lighting is a core component of real estate photography tips.
Embrace Natural Light
Natural light is your best friend. It's soft, flattering, and makes homes feel alive. Plan your shoot to take advantage of it.
- Timing is Key: The best time to shoot interiors is typically mid-day when the sun is high and not shining directly into the windows, which can cause harsh shadows and hotspots. For exteriors, the 'golden hours'—the hour after sunrise and the hour before sunset—provide a warm, beautiful light that is highly desirable.
- Open Everything Up: Open all curtains, blinds, and shades to let in as much natural light as possible. Make sure blinds are all turned to the same angle for a clean, uniform look.
- Turn On All The Lights: Supplement natural light by turning on every lamp and overhead fixture in the house. This adds warmth and helps illuminate darker corners. Be sure to replace any burnt-out bulbs and ensure all bulbs in a single fixture are the same color temperature (e.g., all 'soft white' or 'daylight').
Using Flash for Balance
Sometimes, natural light isn't enough, especially in rooms with small windows or on overcast days. This is where an external flash comes in handy. The goal is not to overpower the natural light but to supplement it. A common technique is to point the flash at the ceiling or a neutral-colored wall behind you. This 'bounces' the light, diffusing it and creating a soft, even fill that lifts shadows without looking artificial.
Finding the Perfect Angle: Composition and Framing Techniques
How you compose your shot is just as important as the lighting and settings. The right angle can make a room look spacious and highlight its best features. These are some of the most important best practices for real estate photos.
Shoot from the Corners
One of the most effective ways to make a room look as large as possible is to shoot from a corner or doorway. This vantage point allows you to capture three walls, which creates a sense of depth and shows the room's layout more effectively than a flat, head-on shot.
Keep Vertical Lines Straight
This is a non-negotiable rule of professional architectural photography. All vertical lines in your photo (walls, door frames, windows) must be perfectly straight, not leaning in or out. This is achieved by keeping your camera perfectly level. Use your tripod's bubble level or your camera's digital level overlay to ensure everything is straight. Any minor distortion can be corrected later in editing software.
Mind Your Camera Height
Shooting from the right height is crucial for a natural perspective. The standard is to set your camera at chest height, around 4-5 feet off the ground. Shooting too low can distort furniture, while shooting too high can make the room feel like it's tilting down. For kitchens and bathrooms, you may want to lower the camera to just above countertop height to get the best view.
Telling a Story: Crafting a Compelling Visual Narrative
Your collection of photos should do more than just document each room; it should tell a story and guide the viewer on a virtual tour of the property. The order and flow of your images matter.
Start with a stunning exterior shot that captures the home's curb appeal. This is your cover photo and your first chance to make an impression. From there, move logically through the home as if you were walking through it in person. Start with the entryway, then move to the main living areas like the living room, dining room, and kitchen. After the main floor, photograph the bedrooms and bathrooms. Finally, showcase any special features like a finished basement, a beautiful backyard, or a deck with a view.
Within each room, provide a mix of shots. Start with a wide shot that shows the entire space, then add a few medium shots from different angles to highlight specific features or architectural details. This variety keeps the viewer engaged and provides a comprehensive understanding of the property's layout and feel.
The View from Above: Using Drone Photography Effectively
For certain properties, drone photography can be a powerful tool. It offers a unique perspective that is impossible to capture from the ground and can be a major selling point.
Drone shots are particularly effective for:
- Large Properties: Showcasing the full extent of a large lot, acreage, or a waterfront location.
- Neighborhood Context: Providing a bird's-eye view of the home's proximity to parks, schools, or other amenities.
- Unique Features: Highlighting features like a new roof, solar panels, a swimming pool, or intricate landscaping.
When using a drone, it's important to be aware of local regulations and FAA rules. Always prioritize safety and respect the privacy of neighbors. The best drone shots are often taken from a moderate altitude, high enough to show context but low enough to still see detail in the property itself. As with ground photography, shooting during the golden hour can produce spectacular results.
The Digital Darkroom: Essential Editing Techniques
Post-processing is the final step in creating professional-quality real estate photos. The goal of editing is not to misrepresent the property but to enhance the photos so they accurately reflect the home at its best. Software like Adobe Lightroom is the industry standard.
Key editing steps include:
- White Balance Correction: Ensure the colors in your photo are accurate. Interior lighting can often cast a yellow or orange hue, which can be easily neutralized to make whites look white.
- Exposure and Contrast Adjustments: Brighten the image to make it feel light and airy, and add a touch of contrast to make the details pop.
- Lens Correction: Most editing software has profiles that automatically correct the distortion and vignetting caused by wide-angle lenses.
- Straightening Lines: Use the transform tools to ensure all your vertical and horizontal lines are perfectly straight.
- HDR (High Dynamic Range): For rooms with very bright windows, you can take multiple photos at different exposures (a technique called bracketing) and merge them together. This allows you to have a properly exposed interior while still seeing the view outside the window.
Common Mistakes in Real Estate Photography (And How to Avoid Them)
Knowing what not to do is as important as knowing what to do. Here are some common pitfalls to avoid:
- Crooked Photos: This is the most common sign of an amateur photo. Always use a tripod and level your camera.
- Personal Clutter: Forgetting to remove personal items, pet supplies, or cleaning products.
- Reflections: Be mindful of your own reflection in mirrors, windows, and shiny appliances. Shoot from an angle to avoid it.
- Poor Lighting: Shooting at the wrong time of day or not turning on all the lights can result in dark, uninviting photos.
- Over-Editing: Don't oversaturate colors or make the photo look unrealistic. The goal is enhancement, not fantasy.
- Using the Wrong Lens: Using a lens that is not wide enough will fail to capture the space, while using one that is too wide (like a fisheye) will create unprofessional distortion.
FAQ Section
How to take the best real estate photos?
To take the best real estate photos, focus on three key areas: preparation, lighting, and composition. First, prepare the property by thoroughly decluttering, cleaning, and staging each room. Second, maximize natural light by opening all blinds and shooting during bright parts of the day, supplementing with interior lights. Third, use a wide-angle lens on a tripod to capture spacious, sharp images, ensuring all vertical lines are straight.
What is the 3 wall rule in real estate photography?
The 3-wall rule is a composition guideline that suggests shooting from a corner or doorway to capture three walls in the frame (two side walls and the back wall). This technique creates a sense of depth and space, making the room appear larger and providing a better understanding of its layout compared to a flat, one-wall shot.
How to make real estate photos look professional?
To make real estate photos look professional, you must pay attention to detail. Use a DSLR or mirrorless camera with a wide-angle lens and a tripod. Set your camera to a low ISO (100-400) and a mid-range aperture (f/8-f/11) for maximum sharpness. Ensure all vertical lines are straight. Finally, use editing software like Lightroom to correct white balance, adjust brightness, and apply lens corrections for a polished final image.
What is the #1 rule of photography in real estate?
While there are many important rules, the #1 rule in real estate and architectural photography is to keep your vertical lines perfectly straight. Leaning or converging walls are a clear sign of amateur work and can be visually jarring. Using a tripod and leveling your camera carefully is the best way to achieve this and create a stable, professional look.
Conclusion: Elevate Your Listings with Professional Imagery
In today's visually-driven market, the quality of your real estate photos can make or break a listing. By implementing these professional tips for real estate photos, you can create images that not only stop the scroll but also build desire, justify a price point, and ultimately, drive faster sales. From meticulous preparation and staging to mastering your camera and editing with a careful hand, every step plays a role in producing a final product that truly represents the value of a property.
Remember that your professional image is an extension of your brand. Just as you invest time in creating stunning property photos, ensuring your own headshot reflects the same level of quality is essential for building client trust. For real estate professionals looking to easily and affordably upgrade their professional image, a tool like Realtorheadshot.com offers a modern solution to a timeless marketing need. By presenting a polished, cohesive brand across all touchpoints, you position yourself for success in a competitive industry.